Adobe Sign API Configuration
After successful validation of the license key, the next step is to configure your AdobeSign account with SugarAdobeSign. There are two types of configuration, one is the default which is configured by the Admin, and all users of CRM will send documents/templates from this email address. The other type is the user's own configuration. Every user will have access to configure their own account to send documents/templates from their own email address.
Default Configuration
Go to the Admin panel, at the bottom of the screen click on "Adobe Sign API Configuration".
A configuration page will open where you have to enter your Adobe sign 'Name', 'Default User E-mail' and 'Description'.
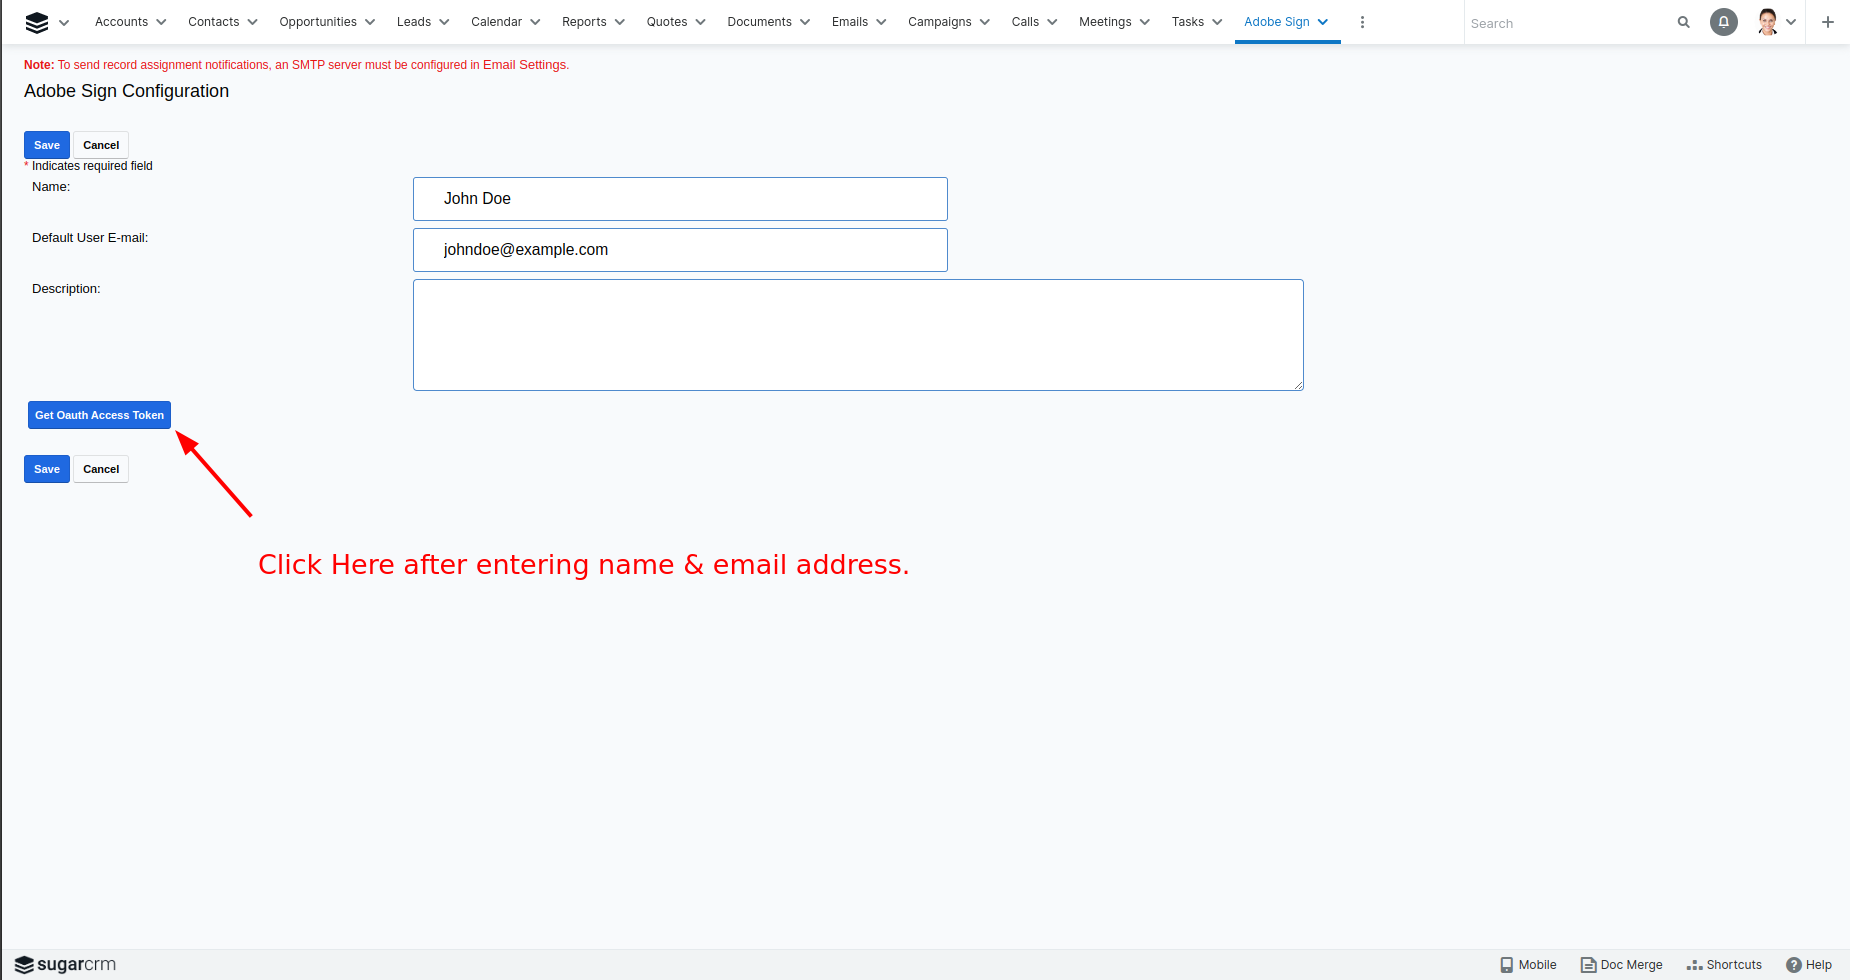
- Click on ‘Get Oauth Access Token’ to complete the authentication process. It will redirect you to Adobe Sign login page, enter the login info and continue. It can ask for Allow Access on next step, process it by allowing access. After successful login, it will redirect back to CRM.


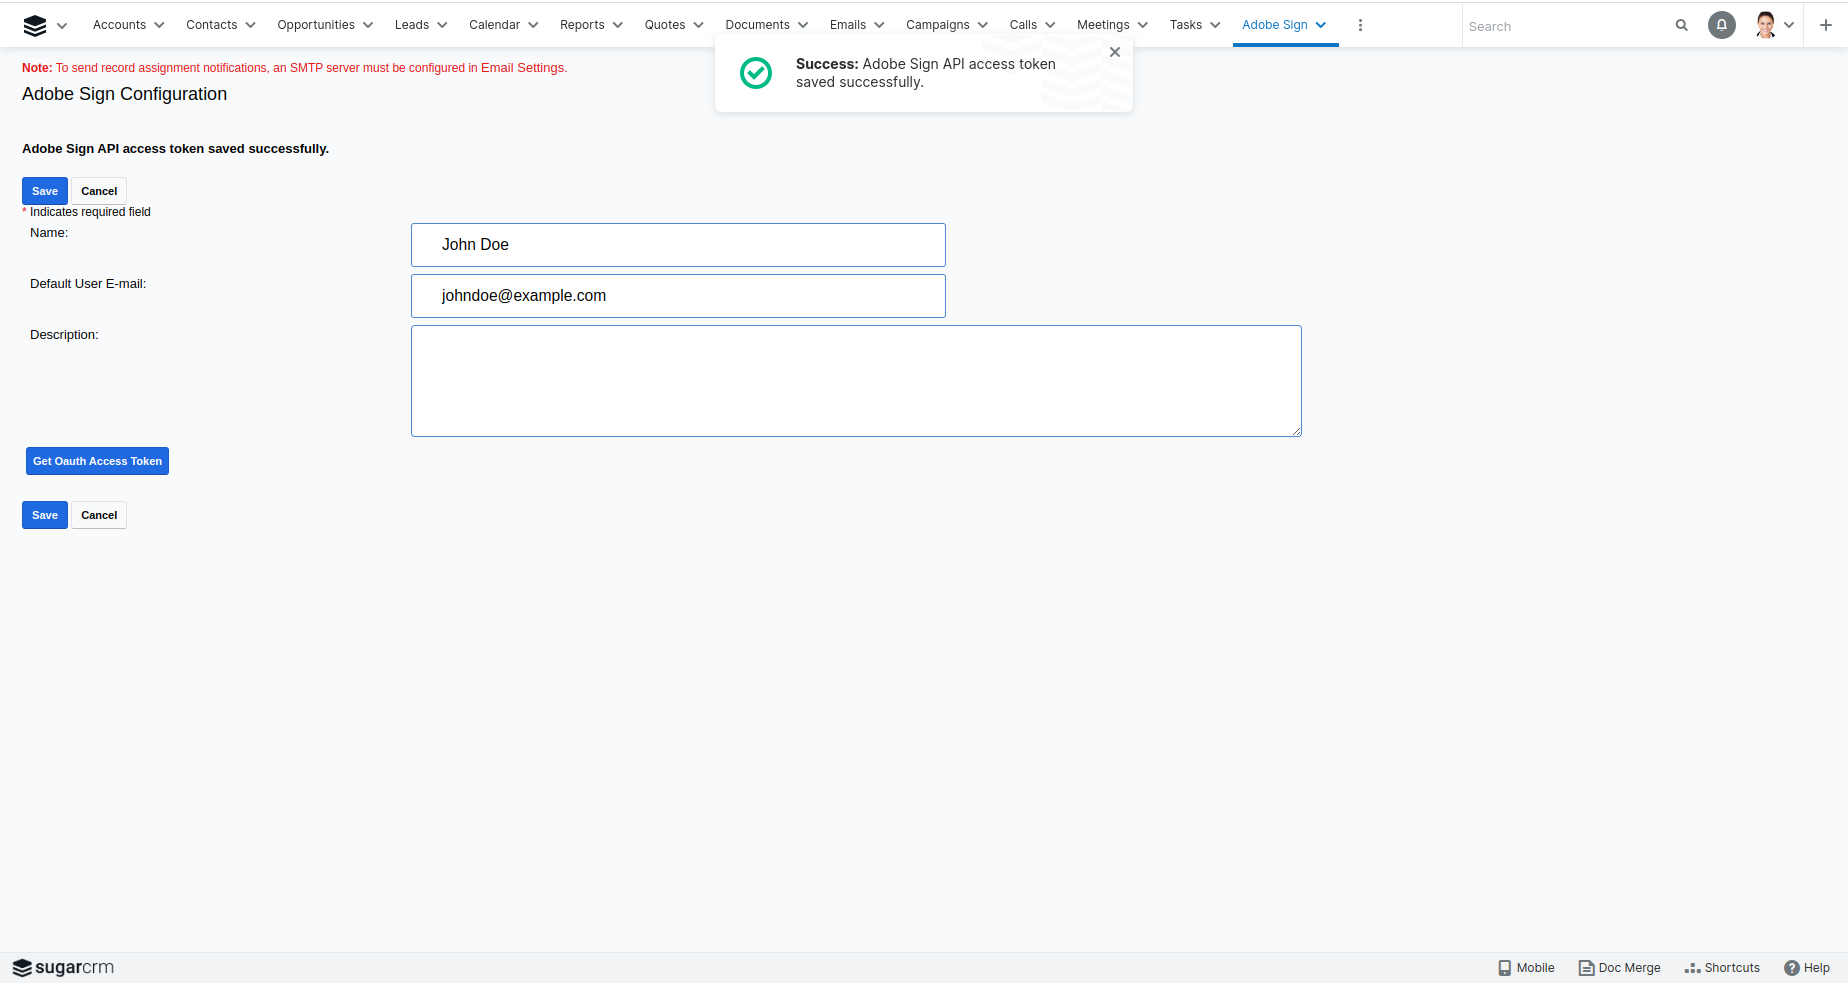
- If everything went successful, you do not need do to anything and you can go back and use your CRM for sending documents/templates. If for some reason anything went wrong, it will indicate with message on top, in this case you need to perform the authentication step again.
Personal Configuration
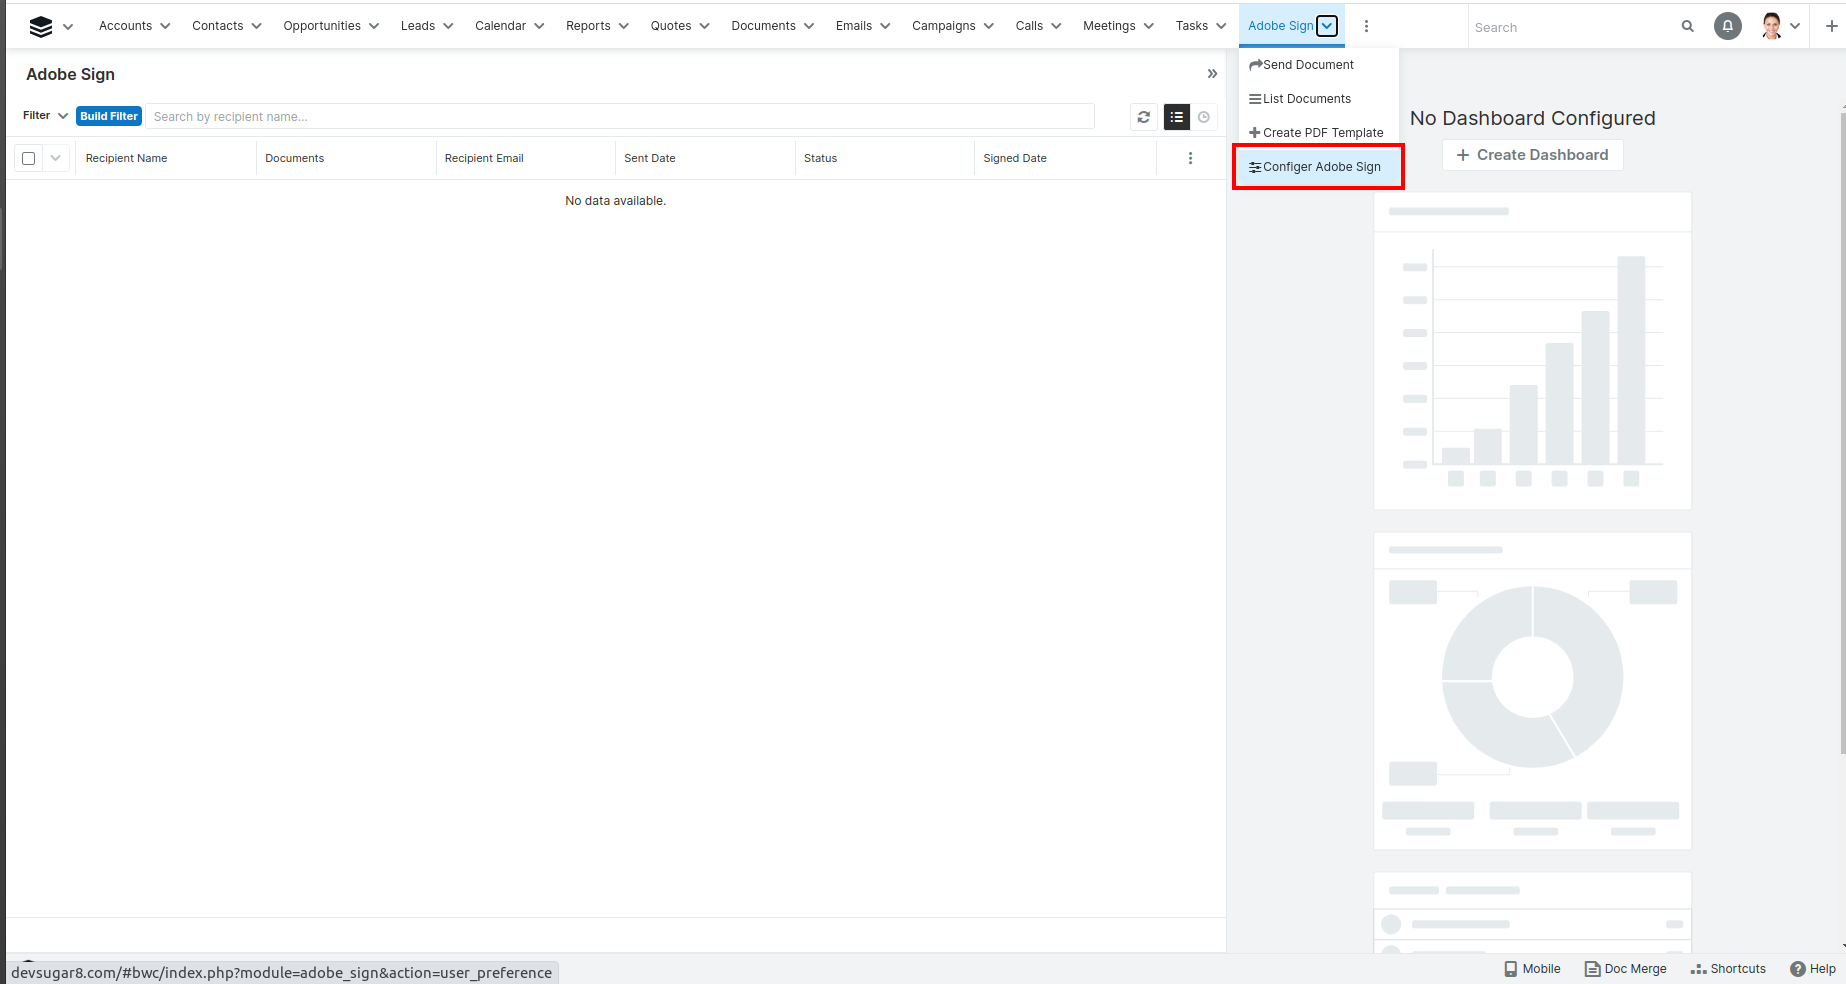
- Go to the Adobe Sign module from the menu and click on "Configure Adobe Sign".
- A configuration page will open where by default the administration is selected. You have to change it to your own account and enter your Adobe sign 'Name', 'Default User E-mail' and 'Description'.
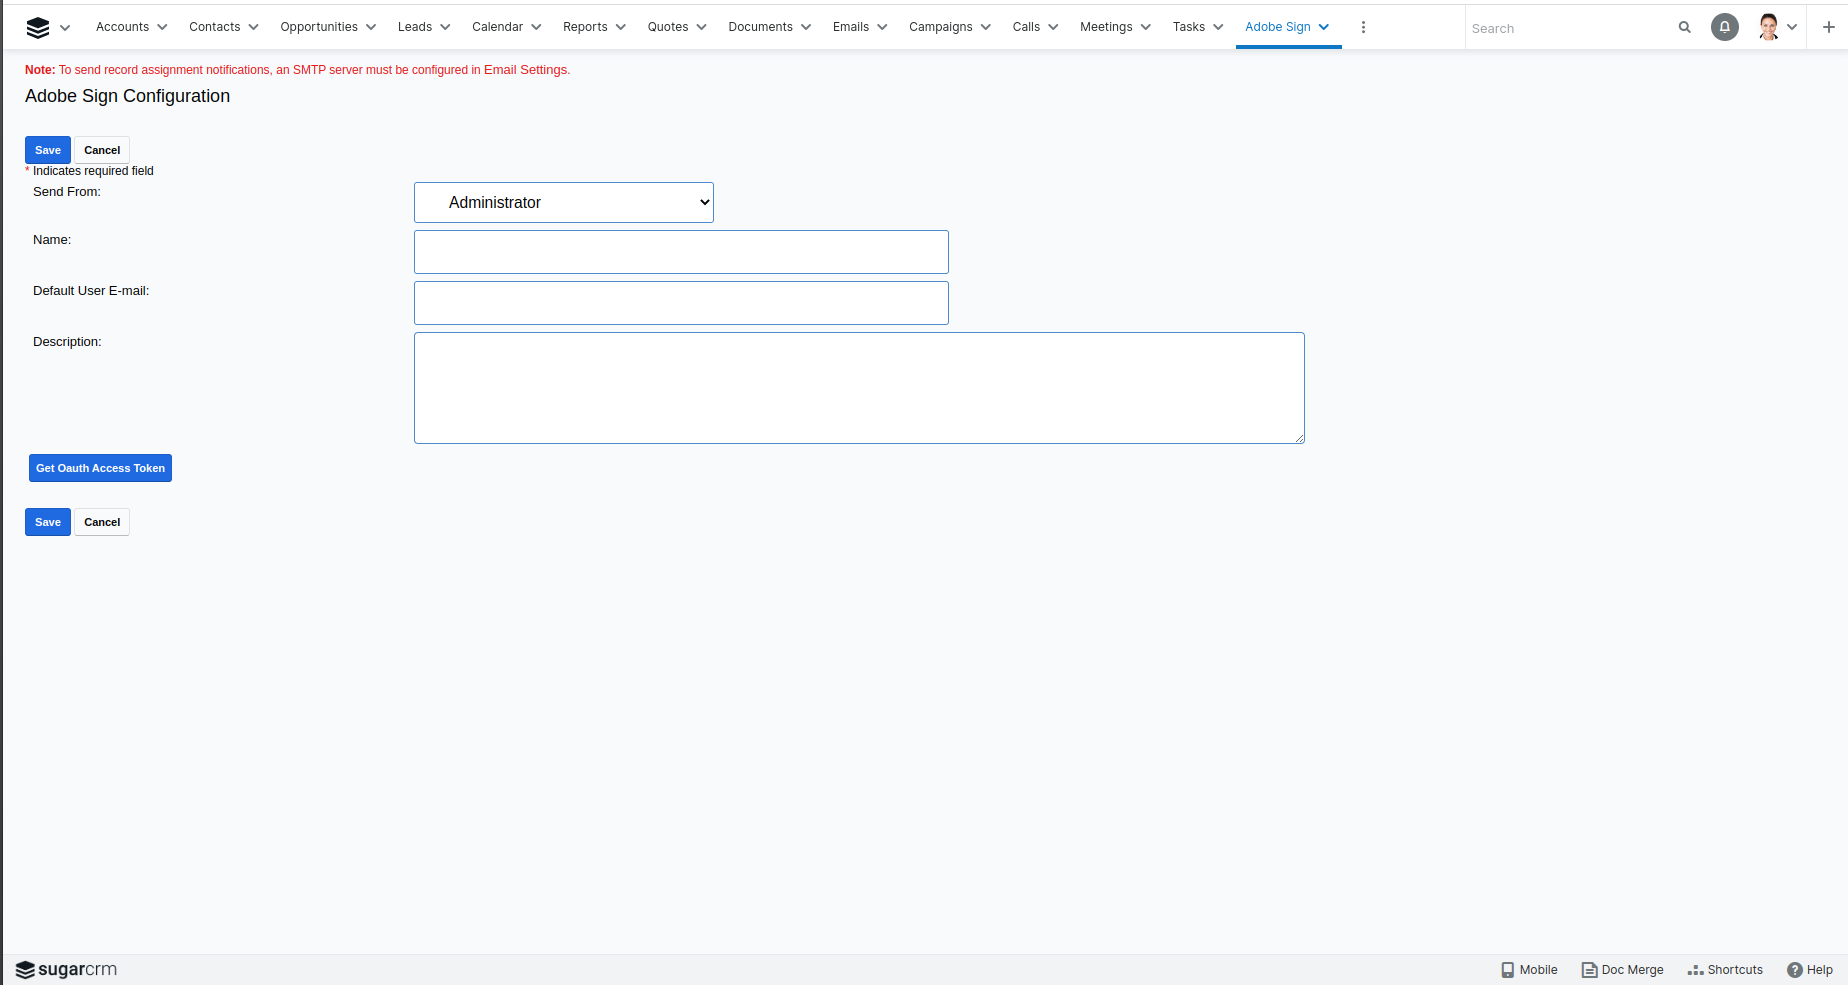
- Click on ‘Get Oauth Access Token’ to complete the authentication process. It will redirect you to the Adobe Sign login page, enter the login info and continue. It can ask for Allow Access on the next step, process it by allowing access. After successful login, it will redirect back to CRM.


- If everything went successful, you do not need to do anything, and you can go back and use your CRM for sending documents/templates. If for some reason anything went wrong, it will indicate a message on top, in this case, you need to perform the authentication step again.
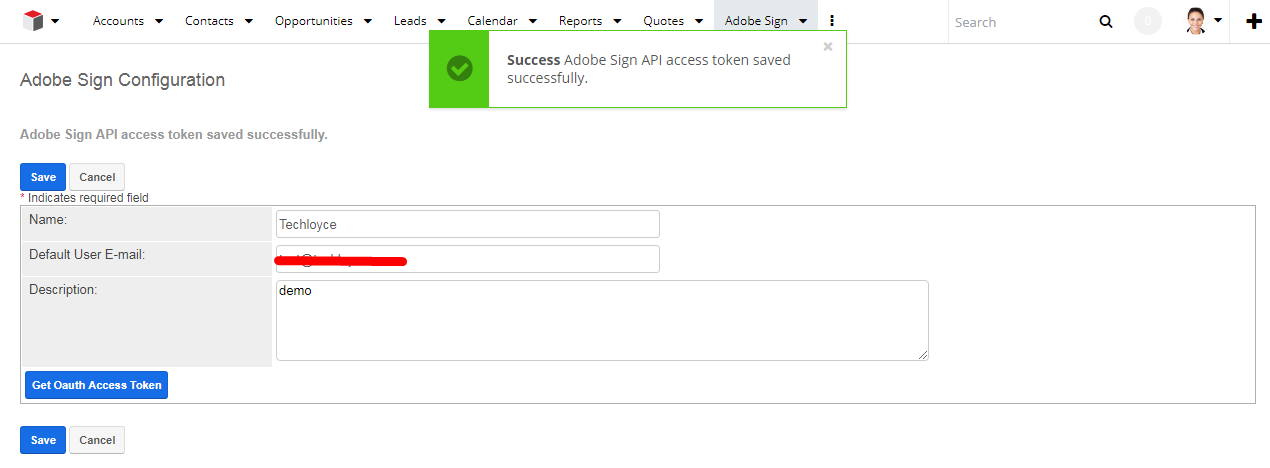
NOTE: If you enter the API info and just press the SAVE button, it doesn't mean your API is configured, it will simply save the information. But you need to authenticate it by pressing the 'Get Oauth Access Token' button.


